QuickStart » History » Version 30
« Previous -
Version 30/40
(diff) -
Next » -
Current version
Alexey Z., 03/04/2013 10:03 PM
Quickstart guide
Creating a ZRouter build environment.
This should probably be done within a Jail.
At First, this Requires you have [[hg]]/mercurial installed:- From FreeBSD ports:
# cd /usr/ports/devel/mercurial
# make install clean
- OR From FreeBSD packages:
# pkg_add -r mercurial (or # pkg install mercurial)
- Create a path set aside for ZRouter build.
# mkdir -p ZRouter/
- Enter directory:
# cd ZRouter
- Checkout/clone ZRouter Project
# hg clone http://zrouter.org/hg/zrouter/
- Checkout/clone Current compatible FreeBSD source:
# hg clone http://zrouter.org/hg/FreeBSD/head FreeBSD
- Begin ZRouter Build Menu
# ./menu.sh
Entering ./menu.sh
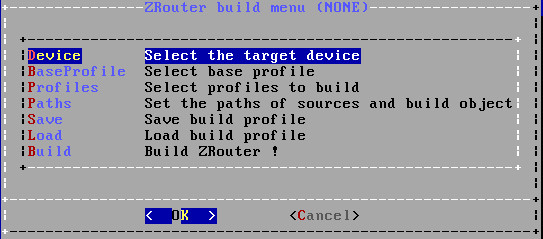
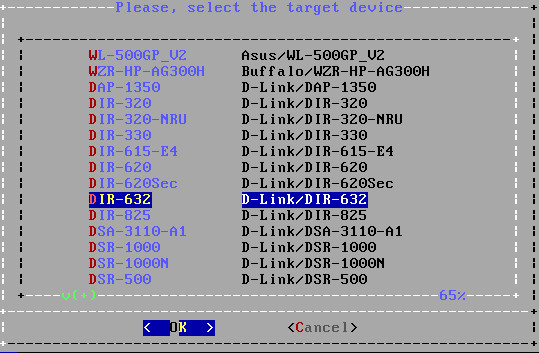
- Select your target device (example D-Link DIR-632):
- Select Base Profile. That's two choise:
- Small - size firmware > 4 MB (if your ROM more than 4 MB)
- Extra small - size firmware <= 4MB (if your ROM less than 4 MB)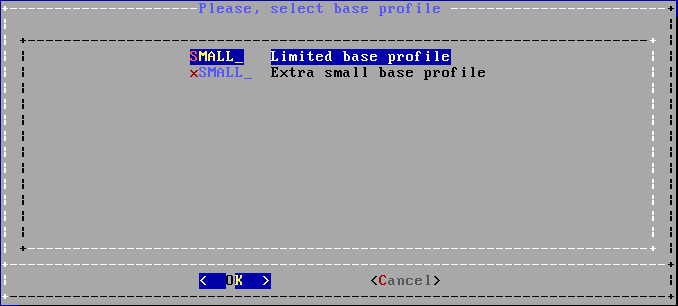
- At "Profiles" select package that included firmware:
- DEBUG_ -
- ath -
- dhclient -
- dhcp -
- dig_spcdns -
- hostap -
- ipfw - stateful firewall written for FreeBSD.
- lagg -
- lua_web_ui -
- mono -
- mpd -
- mroute -
- net_help -
- nfs_client -
- ng_igmp_fwd -
- ntpdate - for clock synchronization over Network Time Protocol.
- openvpn - create a Virtual Private Network. Include OpenVPN, crypto libraries.
- ppp -
- racoon -
- racoon2 -
- shttpd -
- ssh - enable SSH service. Include ssh, sshd, SSH PAM service file and /etc/ssh configs.
- watchdog - if software freeze, then watchdog H/W reset system. Include watchdogd and rc.d script.
- zhttpd -
- Last that must to do - select paths of source and build object:

- Path of FreeBSD/head
- Path of objects (temporary direcroty where will be compilate your firmware)
Then go back to main menu:
- You can save your selection to "Build Profile" for future use (file will be created at "./Zrouter/zrouter/build_profiles/" ):
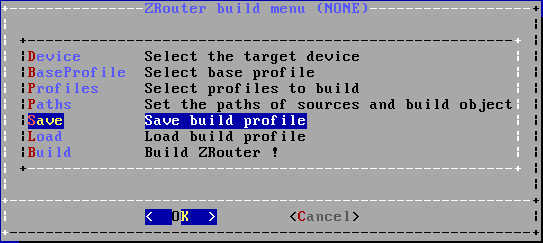

- You can load your Build Profile if you save it early:
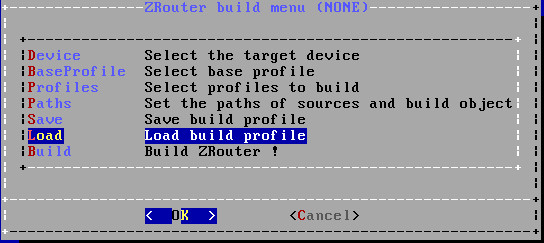

- Now select to "Build" and you see all your choices:
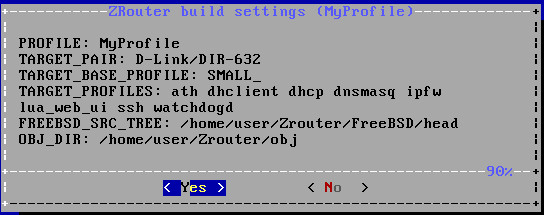
Answer "yes" and firmware will begining.